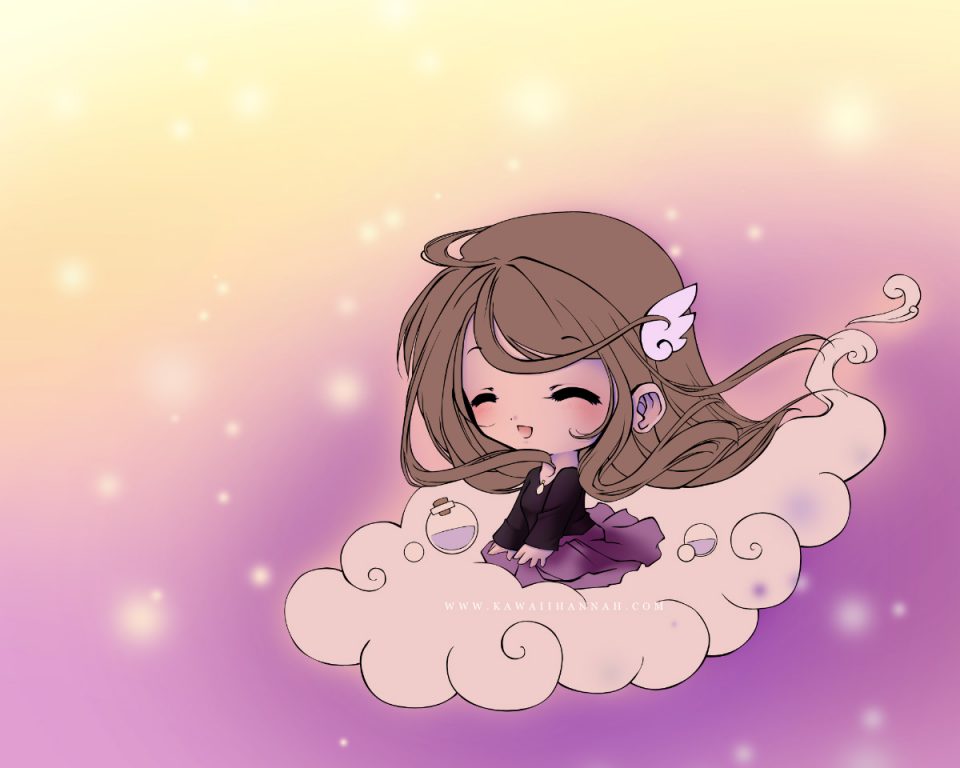
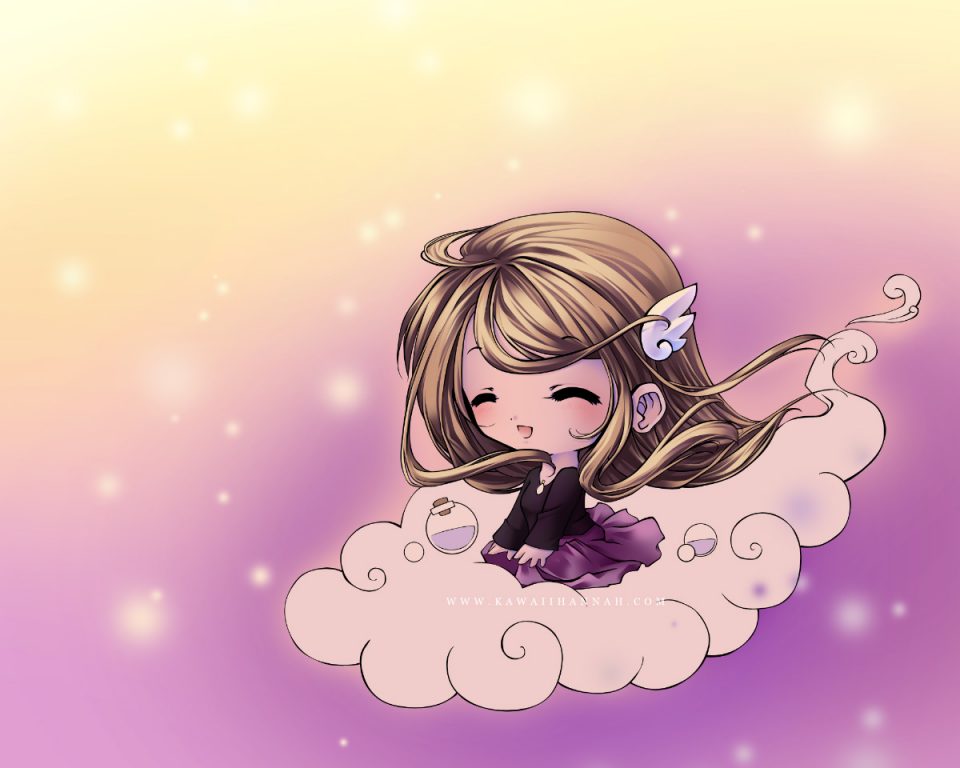
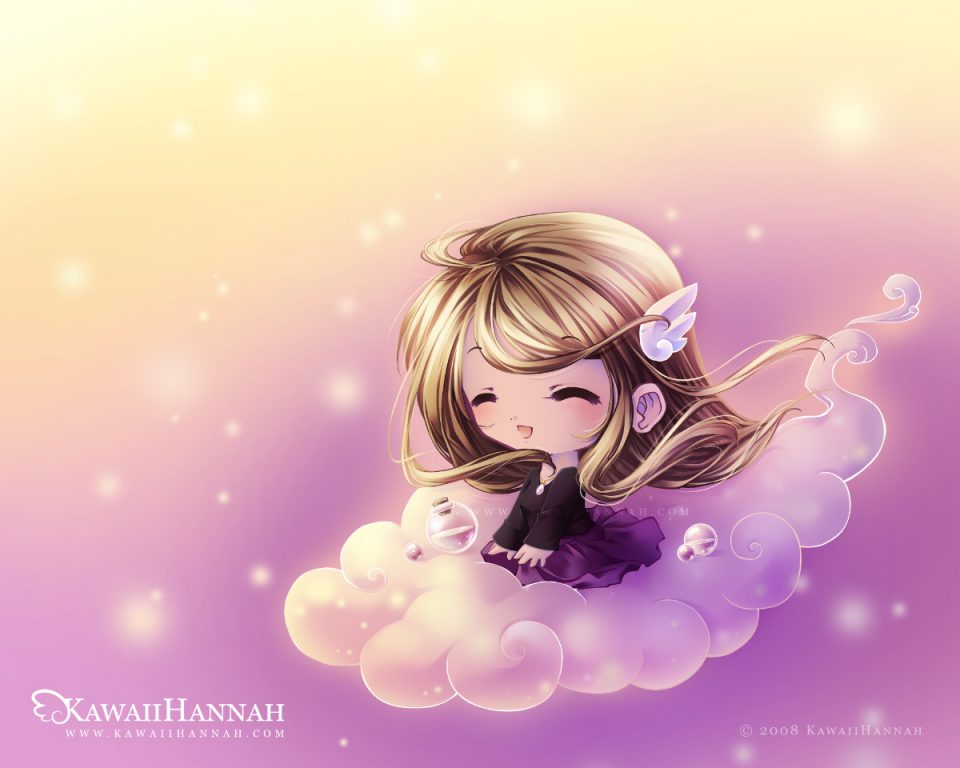
CG Colouring
I’ve been asked a lot about how I create my CGs. It’s quite hard to explain because my methods can vary quite a bit from one piece of artwork to another. Anyway, I’ve taken screenshots for one of my chibi wallpapers made in Photoshop 7 using my tablet to show you how it was done (so I suppose this is more of a walkthrough than a tutorial, but oh well) X3
Preparing the Line Art
First, I grab my line art – if you’re after a lineart tutorial, click here.
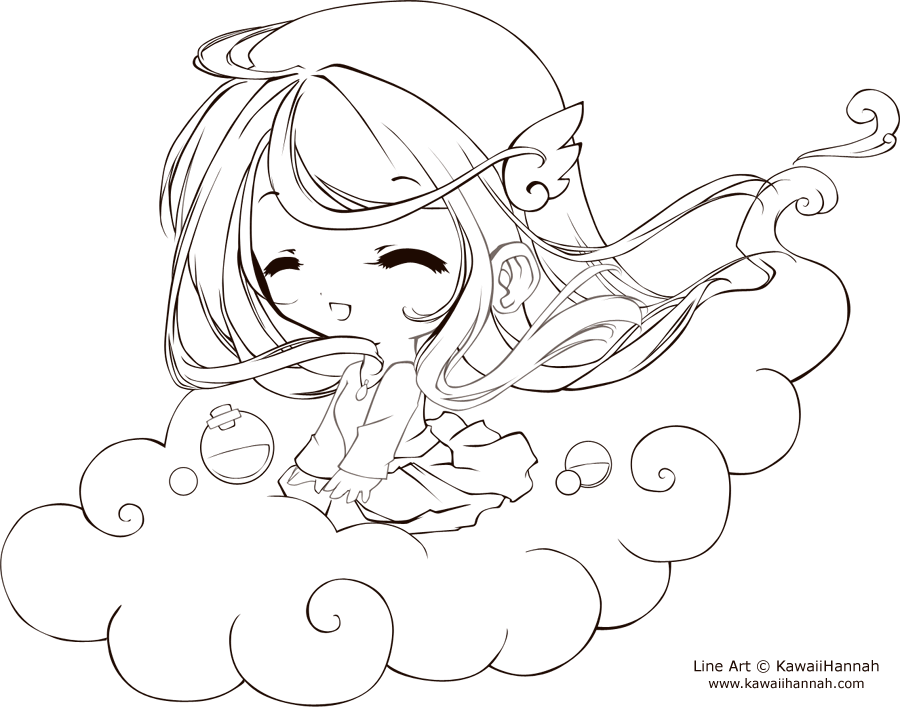
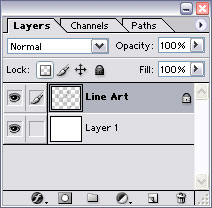
Not much to say about it really, just make sure that it’s on a separate layer to the background and I generally lock the transparency, just in case >>
Locking the transparency means you won’t destroy your line art 😛 It also means you can colour it easily later to blend it with the rest of the image.
Setting the World
I’ve got into the habit of drawing the background first – it makes it easier to set the mood for the drawing and tie all the colours and elements in together.
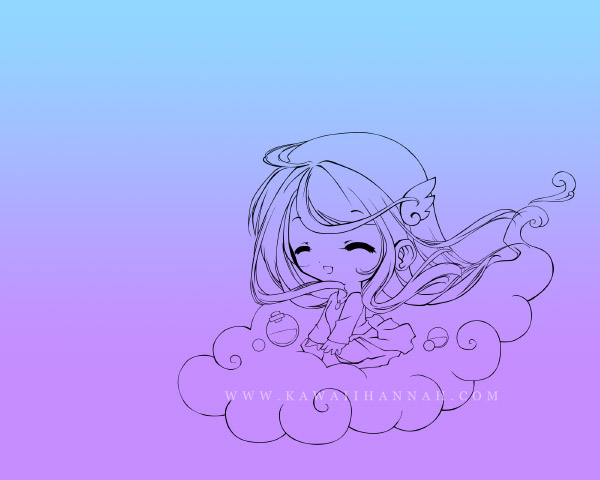
This image I haven’t drawn an elaborate background for because it’s going to be a wallpaper (I just wanted something light and simple), so I’ve opted for a gradiented sky~
I started off looking to go with a purple and blue theme, but I decided it was a bit too cold for my liking and scrapped the idea >.>
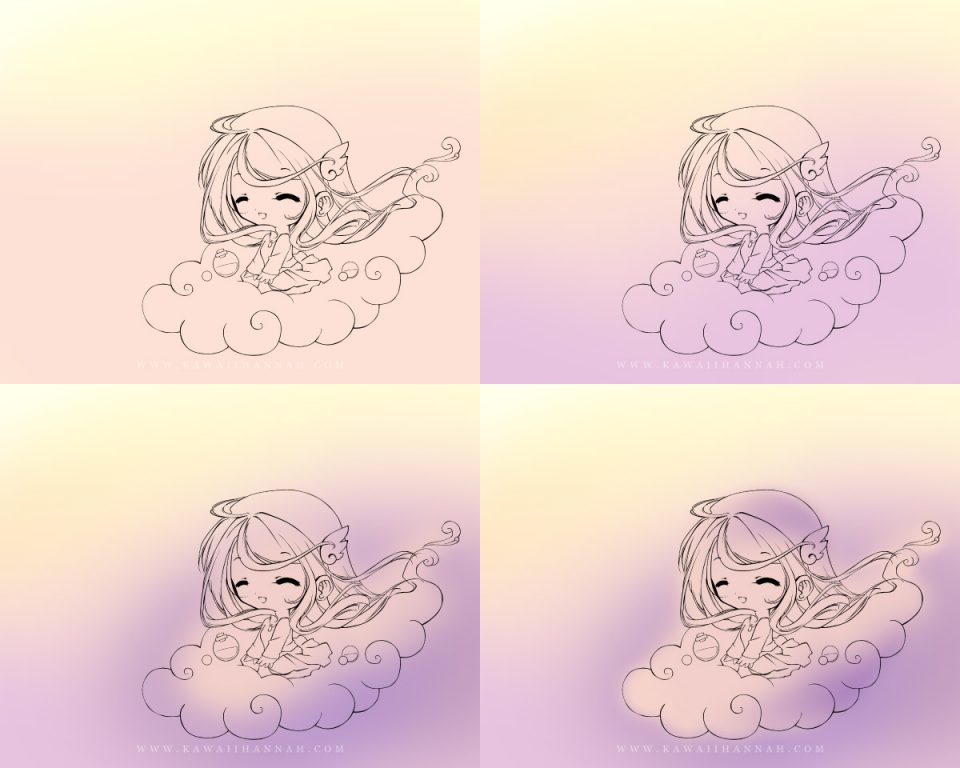
Ordinarily, people will use the gradient tool, but I’ve found it much nicer to actually paint in the colours I want – it takes a bit longer, but the colours are much more controlled.
I started off with a lemon yellow canvas and brushed in the pale pink at the bottom. Then I’ve followed on by adding different purples. The pink layer blends the yellow and purple together better than just a yellow / purple gradient.
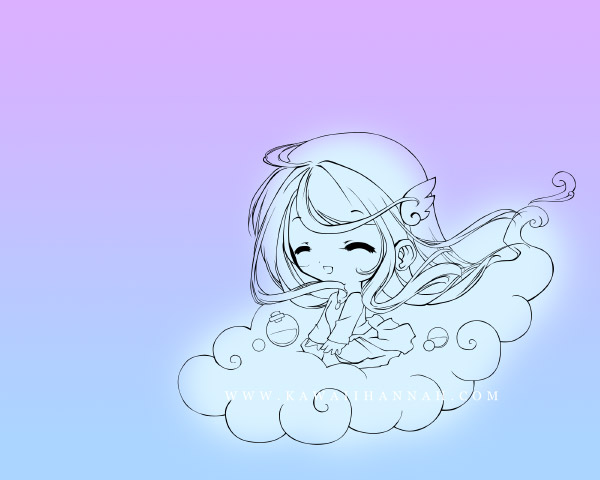
Lastly for the basic colours, I decided they weren’t bright enough >.> So I added a layer of solid purple and set it to “Colour Burn” XD
And the final part of the background, shiny orb lights ^^
Basically, I just grabbed different sized brushes and dotted around the place, picking lighter colours from the background. Make sure that you use varying sized brushes and add smaller dots in places to complement the larger orbs ^_^
And that’s the background~ Nice and simple ^^
Base Colouring
With the background done, I start the base colouring. First I create a new layer for the Skin (I always start with the skin – no reason why XD). Then I zoom in to about 300% so I can see if my base colouring goes outside the lines or not (sometimes you can get a small “bleed” of pixels) >>
I’ve used the Pen Tool for drawing the base colour (it creates it as a shape), however some people prefer to use the Polygonal Lasso tool to select the area they want and then fill it with a colour. And then others just paint the colours in XP Sometimes I can use all three of these methods in one picture XD But for this one I’ve stuck to the Pen Tool – play around with them to find out what you like using best ^^
I picked a more pinkish skin tone than usual because of the amount of pink and yellow in the background~

Flash forward to the finished base colouring (oooo, PC magic) o.o
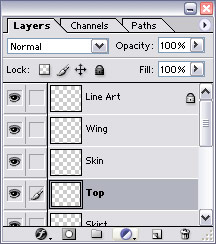 I keep my base colouring layers separate whenever I can – this is so that I can group the shading / lighting layers on top of them to keep everything tidy.
And yes, it’s best to name your layers with something meaningful, especially when you get to 300+ layers – it can be confusing XD
Colouring the Skin
Create a new layer above the Skin base colours layer – this layer is going to be the first of the skin shadows.
Now comes the fun part – colour picking. I’ve chosen a desaturated pinkish colour – it looks almost purple when I’ve brushed it down the side of the face.
When shading, I use a combination of shapes drawn with the Pen Tool and brushing with the airbrushes (the big fuzzy round ones >>). I generally like to lay down a general shadow and then work smaller shadows from there. I’ve done this below with shading the nose / under the mouth ^^
Colouring The Skin: Part 1
 I’ve created another shadow layer and used another large brush to darken the previous shadows drawn in.
Colouring the Skin: Part 2
 I’ve drawn the nose shadow using the Pen Tool – it creates a crisp edge, so you have to be careful to get the shape right.
Colouring the Skin: Part 3
 Then I’ve rasterised the shape (so it’s not a vector anymore) and erased the edge so it blends into the skin tone.
Colouring the Skin: Part 4
 Finish drawing the smaller, detailed shadows (under the hair etc) using the colour used for the nose.
Colouring the Skin: Part 5
 Now I’ve used a blue-ish purple for the last layer of shading (I picked this colour because of the purple in the background).
Colouring the Skin: Part 6
 I decided not to add highlights and went with rosy cheeks drawn with a large pink brush and then painted in the mouth.
Colouring the Clothes
Just like the skin, I’ve started with a larger “general” shadow drawn in using a large airbrush (if you’re not using a pressure sensitive drawing tablet, you might have to use a few different sized brushes to get the shadows right).
 Sometimes I will create another layer on top of this one and add other colours to it and set the layer to “Overlay” or whatever layer setting looks interesting – I didn’t in this case, but when used, it can make a nice tint to the colours ^_^

Now I use the Pen Tool and draw in the more detailed shadows. I rasterise the shapes and erase parts as I go, blending parts into the shadows.
I’ve actually done two layers of shading in this part – it started getting a bit messy in the layers because I stopped naming them and merging shapes at this point so they’re stuck in one picture instead of two ^^

I’ve drawn highlights with the Pen Tool in a few select places and then brushed in larger highlight areas using an airbrush.
That’s about it for the clothes – you may need more or less layers of shading and lighting depending on what you’re doing, but in this case, I’m happy leaving it there X3
Colouring the Hair
Colouring the Hair: Part 1
The first layer of shading I’ve done a very light touching of brown-ish-purple, this is just to give it a bit of a purple tinge which will still be present in the final image.
Colouring the Hair: Part 2

Now I’ve brushed in a darker layer of brown for the shadows. I had to also erase parts from the shadows where the loose bits of hair get hit by the light.
Colouring the Hair: Part 3

Now for the first layer of detailed shadows. These are individually drawn with the Pen Tool and then parts erased to blend them out (like the previous sections) to give both sharp and blended edges.
Colouring the Hair: Part 4
Now for a layer of highlights. This is drawn in the same way as the shadows from the previous step >> These two layers of shadow and lighting make up a lot of the detail within the hair.
Colouring the Hair: Part 5
I finished the highlights around the hair (still on the same highlight layer) and also lightly used a large airbrush on the very outsides of the hair where the light would be strongest.
Colouring the Hair: Part 6
Now we have the second layer of highlights – I’ve done these more sparingly than the last because they’re used to complement the previous layer of lighting.
Colouring the Hair: Part 7

Now I’ve made a new layer and set it to “Multiply”. I brushed in brown areas to darken around the part in the hair and where the shadows would be strongest.
Colouring the Hair: Part 8

Another new layer – highlights this time. Using a large brush and a pale beige, I’ve brushed in a halo-like sheen around the top of the head.
Colouring the Hair: Part 9
Another new layer – with more highlights to further separate the shadows. It looked like there was quite a large block of solid colour that needed to be broken up further.
Colouring the Hair: Part 10
After another layer of highlights drawn using the Pen Tool and then ANOTHER halo-sheen brushed in (that’s now 3 I think?), I’m ok with the results of the hair XP
The hair took the longest to colour out of all the parts on the image XD Chibis (or at least this one) tend to have large heads, so the hair is quite a significant part~ I probably could have left it at the previous step, but because the background lighting is so…shiny, I just had to make the hair that way too XD
Now, onto the final touches (which includes yet more steps on the hair – yay)!
Finishing Touches
Remember how we locked the transparency on the line art layer in the first section? Well now we’re going to colour on the line art layer – this helps blend the lines into the picture rather than having stark black lines sticking out.
Leave the transparency locked and grab a small solid brush (I use between 9-19 pixels for this – maybe larger if there’s a large area of one colour, like the hair).
Brush over the lines using a dark version of the colour inside it – for example, the hair, use a darker brown for the lines rather than black. For the skirt, I’ve used dark purple. For the cloud and potions, I went the opposite and used white XP

Next, I use the dodge tool (yes, I know, the dodge tool XD) on “Highlights” mode (sometimes I switch to “Midtones” if Highlights is too strong) and dodge the lines where the light is strongest. Just be careful not to overdodge >.>
Finishing Touches: Part 1

I finished dodging the overall line art and grabbed an airbrush, brushing in even lighter colours onto the line art of the hair because I found the dodge tool wasn’t giving the right effect there.
Finishing Touches: Part 2
More on the hair! Using varied small brushes, I draw in loose hair strands with a light colour. I find it helps the hair to lose it’s anime-like clumpiness and look more freeflowing and light.
Finishing Touches: Part 3
You can’t really see it here, but I’ve added shadows underneath the loose hair strands I just drew – it lifts them up just enough so that they don’t look painted on.
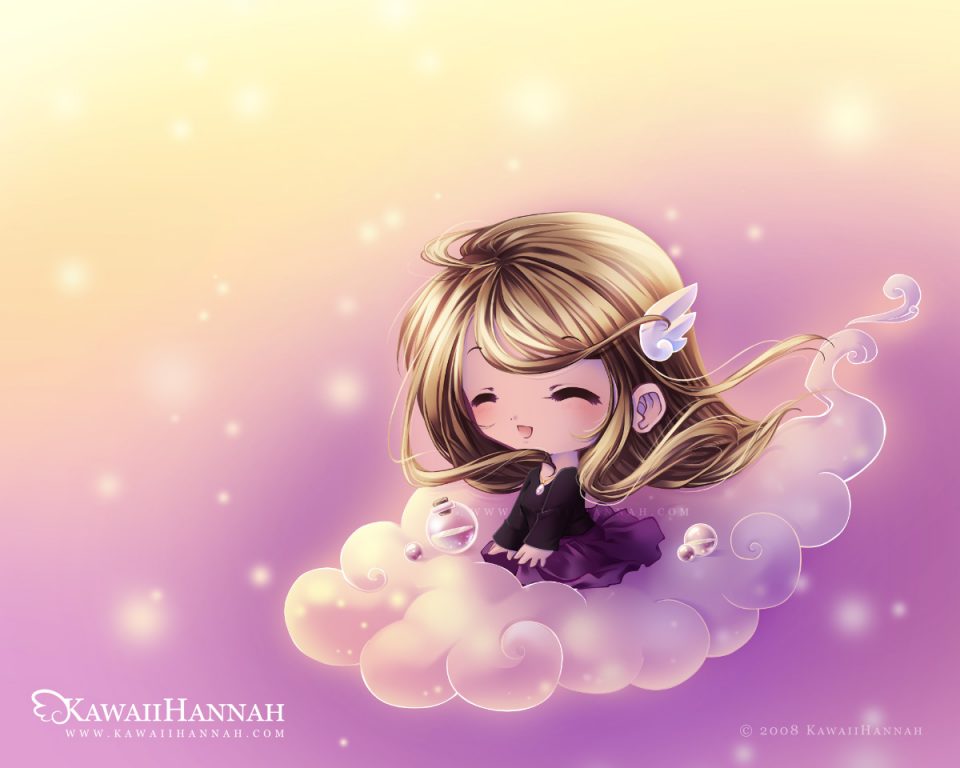
Ok, I did actually add a few last minute overlay layers (one of yellow, a light one of pink and a light one of purple) and stopped at that ^^
Add your signature and / or watermark and you should be ready to go!
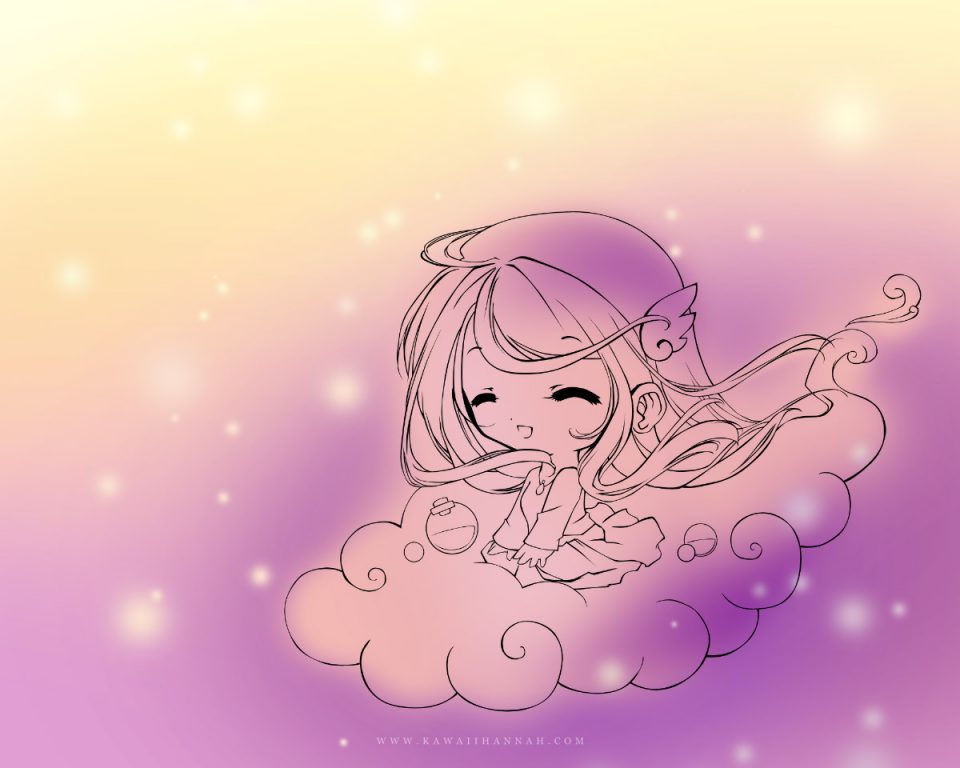
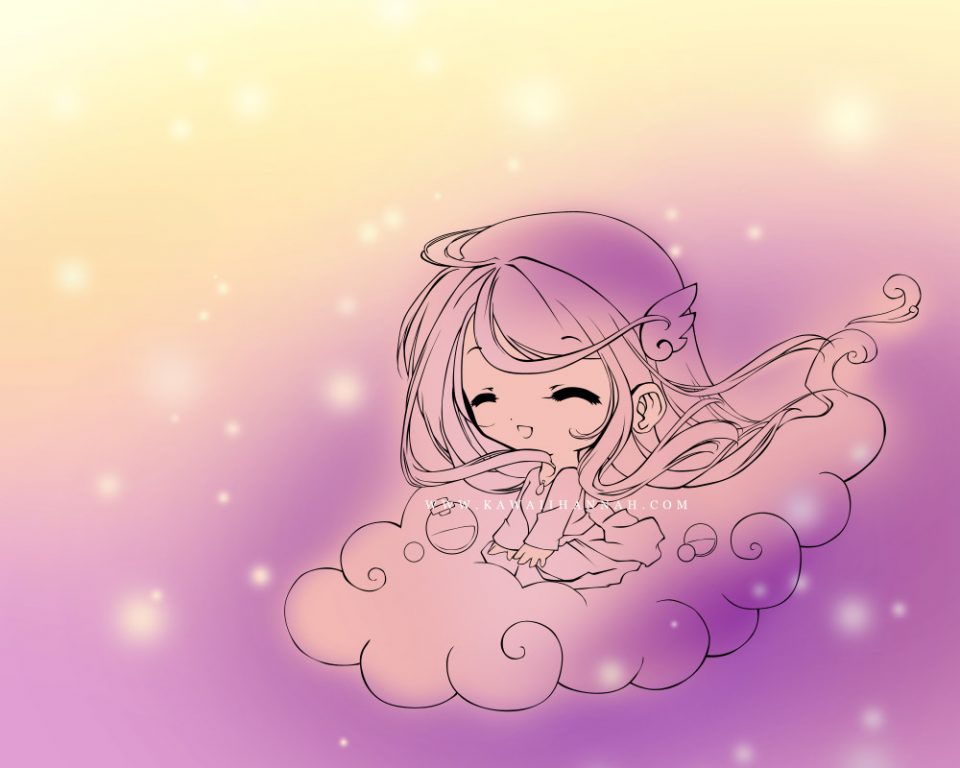
If you’re after the full wallpaper version of this image to look at parts in detail, or to use for your desktop wallpaper (o.o), you can download it from my DeviantArt gallery.
And if you would like to colour this picture yourself, you can download the Photoshop lineart here. Please remember to keep my copyright and website on the image if you’re going to post your coloured version online.